Entrust seasoned professionals with the meticulous task of repositioning fire sprinkler heads within ceiling panels best. Whether optimizing the fire sprinkler repositioning process or dealing with limited access, Kord Fire Protection offers a systematic approach to simplify this crucial process. In this guide, we’ll walk you through the steps involved in repositioning sprinkler systems for improved coverage.
Step 1: Identify the New Sprinkler Head Location
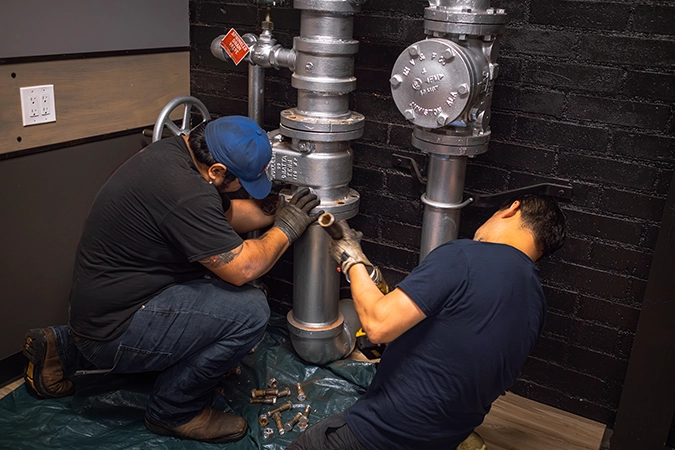
Kord Fire Protection’s seasoned installation experts begin by assessing the room and identifying the optimal locations for the new sprinkler heads. After taking precise measurements, they mark and prepare a hole for the new sprinkler head.
Once the new location is established, they locate the old sprinkler head to determine the required pipe extension length to meet code regulations.
Step 2: Set the Path
Next, the team evaluates the new location for any obstructions that need to be cleared. Any materials like insulation are removed, and the length of pipe needed for extending the waterline is measured. The team proceeds to cut and prepare a new pipe based on the measurements.
Step 3: Remove the Old Sprinkler Head
Before installing the new pipe, the team adeptly removes and caps the old sprinkler head. They shut off the water supply at the intake connection, taking precautions to control any residual water. Safety measures are rigorously followed at every stage so that fire sprinkler repositioning is done properly
Step 4: Extend the Water Line
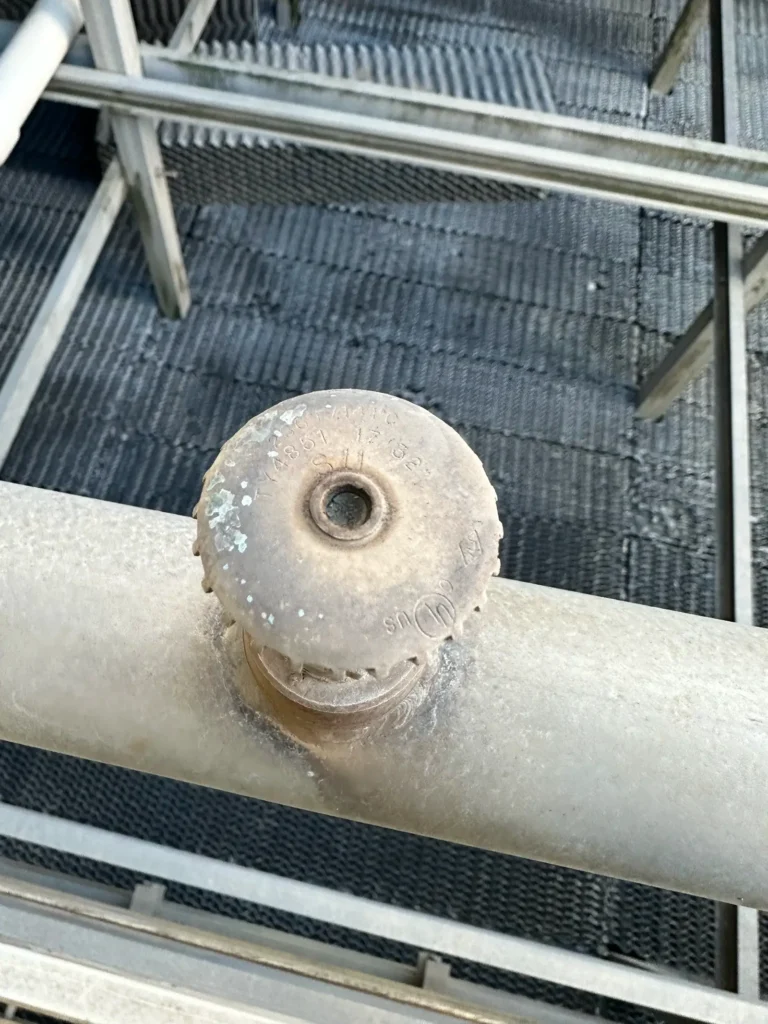
The team installs the newly cut pipe, extending the waterline to just above the hole for the new sprinkler head. They measure from the extension pipe to the ceiling tile hole, cut a new pipe accordingly, and then thread, tape, and attach it to the new sprinkler head.
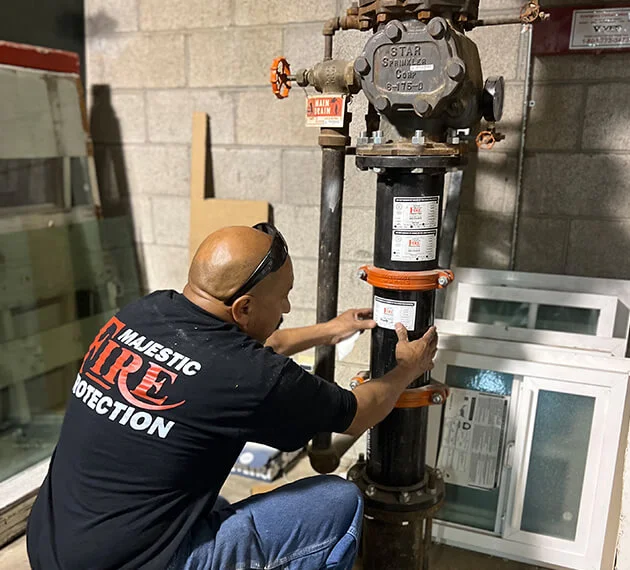
Kord Fire Protection’s mobile tool and machine shop allows for precise measurement, cutting, re-threading, and taping of the pipe to fit the specific site requirements. This ensures a quick and accurate installation process and makes the whole process of repositioning sprinkler systems a smooth process from star to finish.
Step 5: Connect the New Fire Sprinkler Head to the Extended Waterline
The team seamlessly connects the new sprinkler head and pipe to the extended waterline. After securing the new head in the ceiling tile, they tighten all connections. Once all the sprinkler heads in the designated area have been replaced, preparations are made to turn on the water supply and check for any leaks.

Step 6: The Process of Checking Our Work
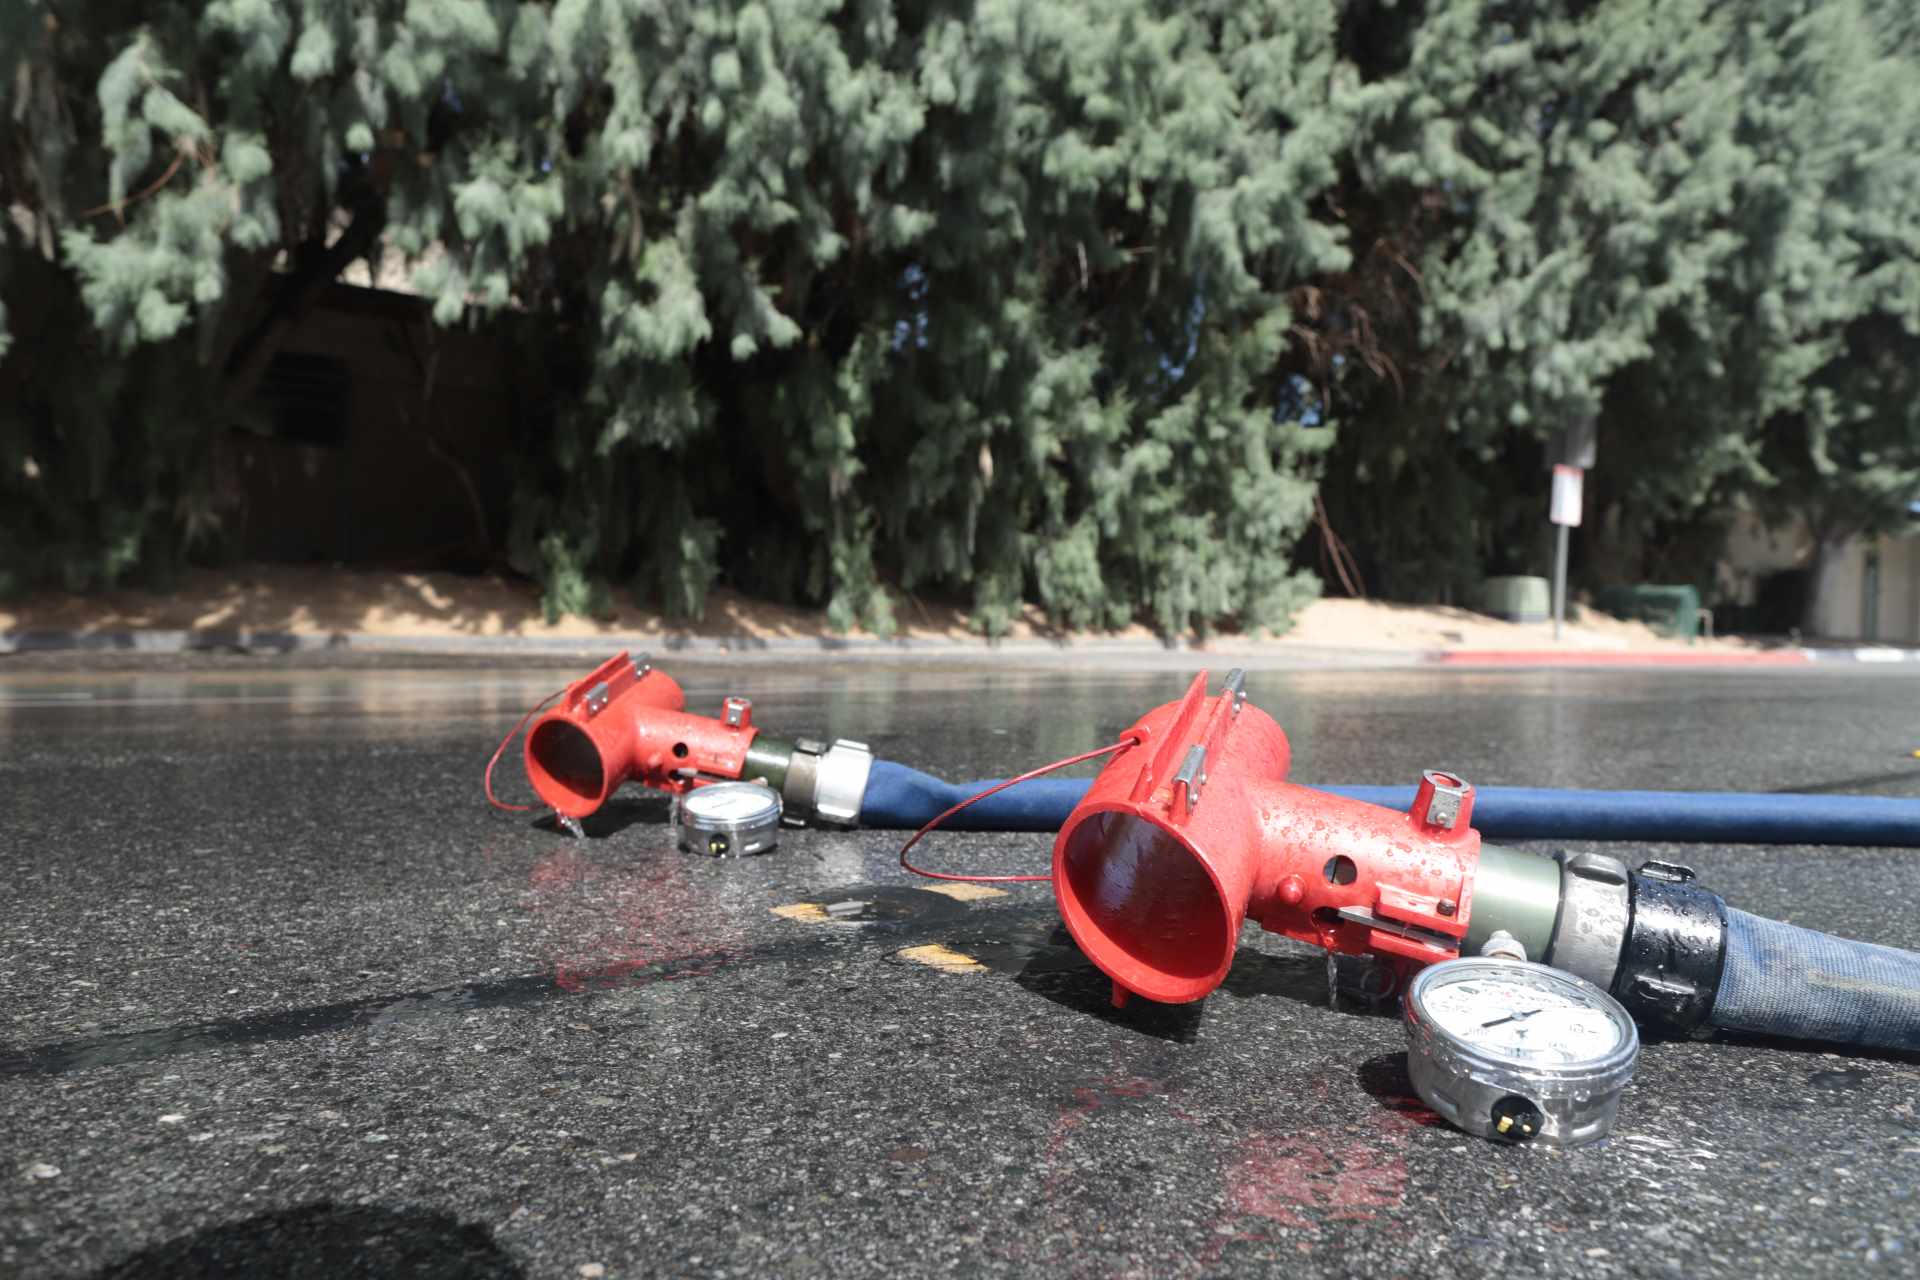
Before completing the fire sprinkler installation, the team meticulously conducts thorough checks to ensure there are no water leaks in the plumbing. This process includes:
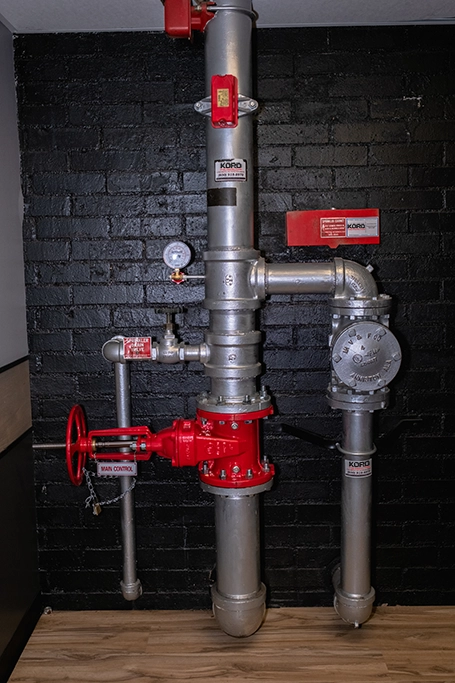
- Ensure clear water lines and set the intake pressure to 90 PSI.
- Monitor the exterior PIV Valve where the water supply to the sprinkler system is restored.
- Activate the fire alarm, which rings until the system reaches 90 PSI.
- Inspection teams verify each new sprinkler head’s installation in their respective areas.
- The team leader standing ready to shut off the PIV Valve if any issues arise.
Why would someone want to reposition their fire sprinklers?
When it comes to repositioning sprinkler systems, there is a variety of reasons why some may want to do so. From wanting to upgrade their current sprinkler system or meeting new standards for fire safety. Or just further optimizing what they already have. We’ll tell you the main 4 reasons why someone may want to reposition their current fire sprinkler system.
Clearance Compliance:
Guidelines throughout the years end up changing. What was thought to be good at the time, has ended up being not good for fire safety now. In order to properly adhere to both NFPA 13 and NFPA 13R (Residential) guidelines, you have to keep an eye on any changes. If you notice that your fire sprinkler head’s clearance is obstructed, or lacks clearance of approx. 18 inches, you may have to update your current sprinkler positions. The reason? So you can have better water distribution and coverage.
Structural Changes:
Occasionally, buildings receive expansions or have their layout shifted to accommodate their new residents/tenants. Usually, this is not an issue. But we recommend to always inspect your sprinkler head clearance after any layout shifts or renovations. If a structural change does impact the effectiveness of your current sprinkler system, it may be time to initiate a push to reposition your current fire sprinkler layout.
Obstruction Resolution:
Clearing away any obstacles, like new equipment or partitions, that might get in the way of the spray from existing sprinkler heads, making sure water can flow freely and cover everything if there’s a fire.
System Upgrades Or Retrofitting:
On some instances, when upgrading or retrofitting an existing fire sprinkler system, you may have to reposition the current sprinkler system. The reason this may be required is in order to accommodate current new or upcoming technologies, in order to allow for improved efficiency. This can help ensure future compatibility with upcoming components. This can also make the cost of upgrading or rearranging the system cheaper in the future as well.
Fire Sprinkler Relocation FAQS
Get Top-Rated Fire Safety Solutions!
With every new sprinkler head installed and double-inspected, the ceiling tile is replaced, completing the fire sprinkler head relocation process.
For simplified code-compliant fire sprinkler repositioning and maintenance, don’t hesitate to reach out to Kord Fire Protection. From routine upkeep to occasional updates, our experts are ready to assist you. Contact us to schedule a site visit today
Protect Your Property
Get the latest fire safety tips delivered straight to your inbox.